Building Multi-Agent Teams with LangGraph: A Step-by-Step Guide
Introduction
Multi-agent systems are transforming how we approach complex AI workflows. Instead of a single monolithic agent trying to handle everything, you can create specialized agents that collaborate—like a team of experts. LangGraph, built on top of LangChain, provides a powerful framework for orchestrating these agents with stateful graphs, flexible control flow, and human-in-the-loop capabilities.
In this guide, you’ll learn how to build a multi-agent team from scratch using LangGraph. We’ll cover the architecture, step-by-step implementation with code examples, configuration best practices, and actionable tips to avoid common pitfalls.
For reference, check out the official LangGraph documentation and the LangGraph GitHub repository for the latest updates.
Understanding the Architecture
Before writing code, understand the core concepts:
- Nodes: Individual agents or functions that perform specific tasks (e.g., research, writing, code generation).
- Edges: Connections between nodes that define the flow of data and control.
- State: A shared dictionary that persists across nodes, allowing agents to pass information.
- Supervisor: A special agent that routes tasks to the right team member based on context.
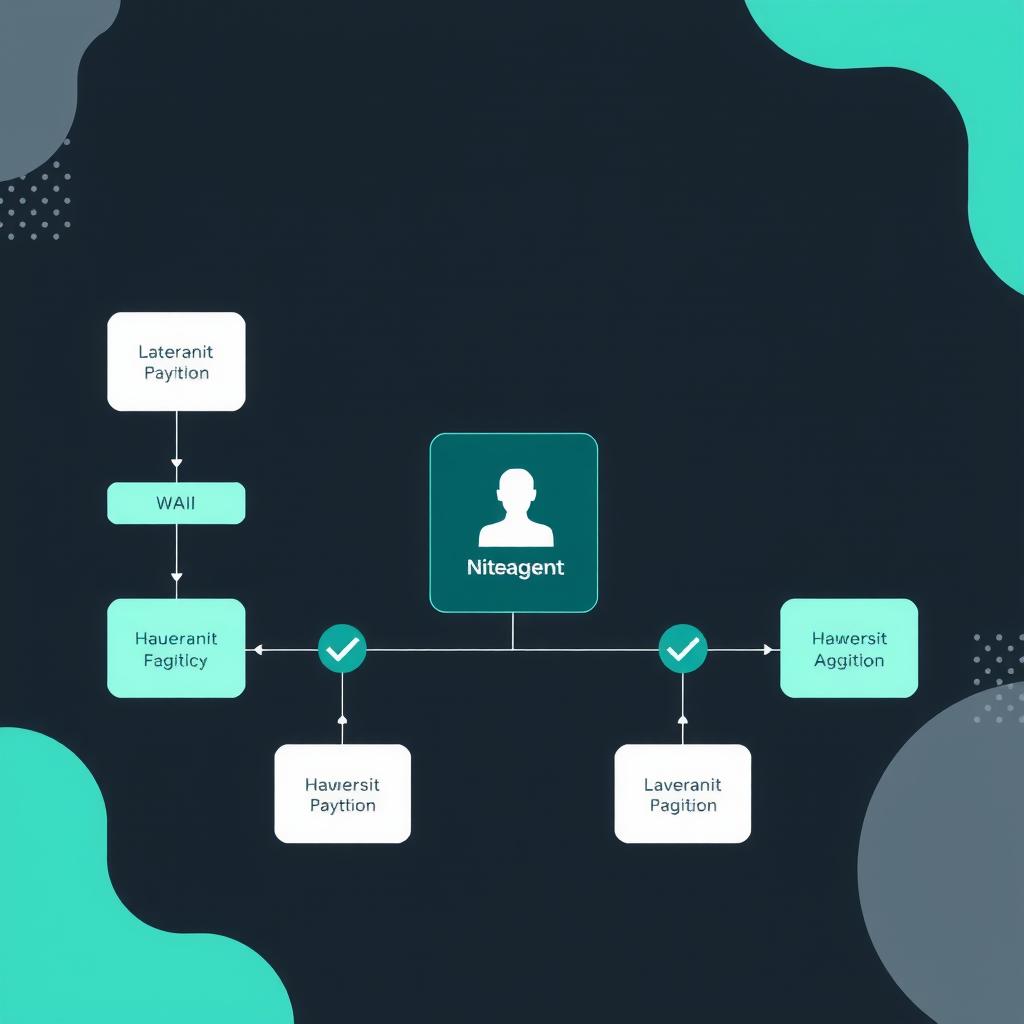
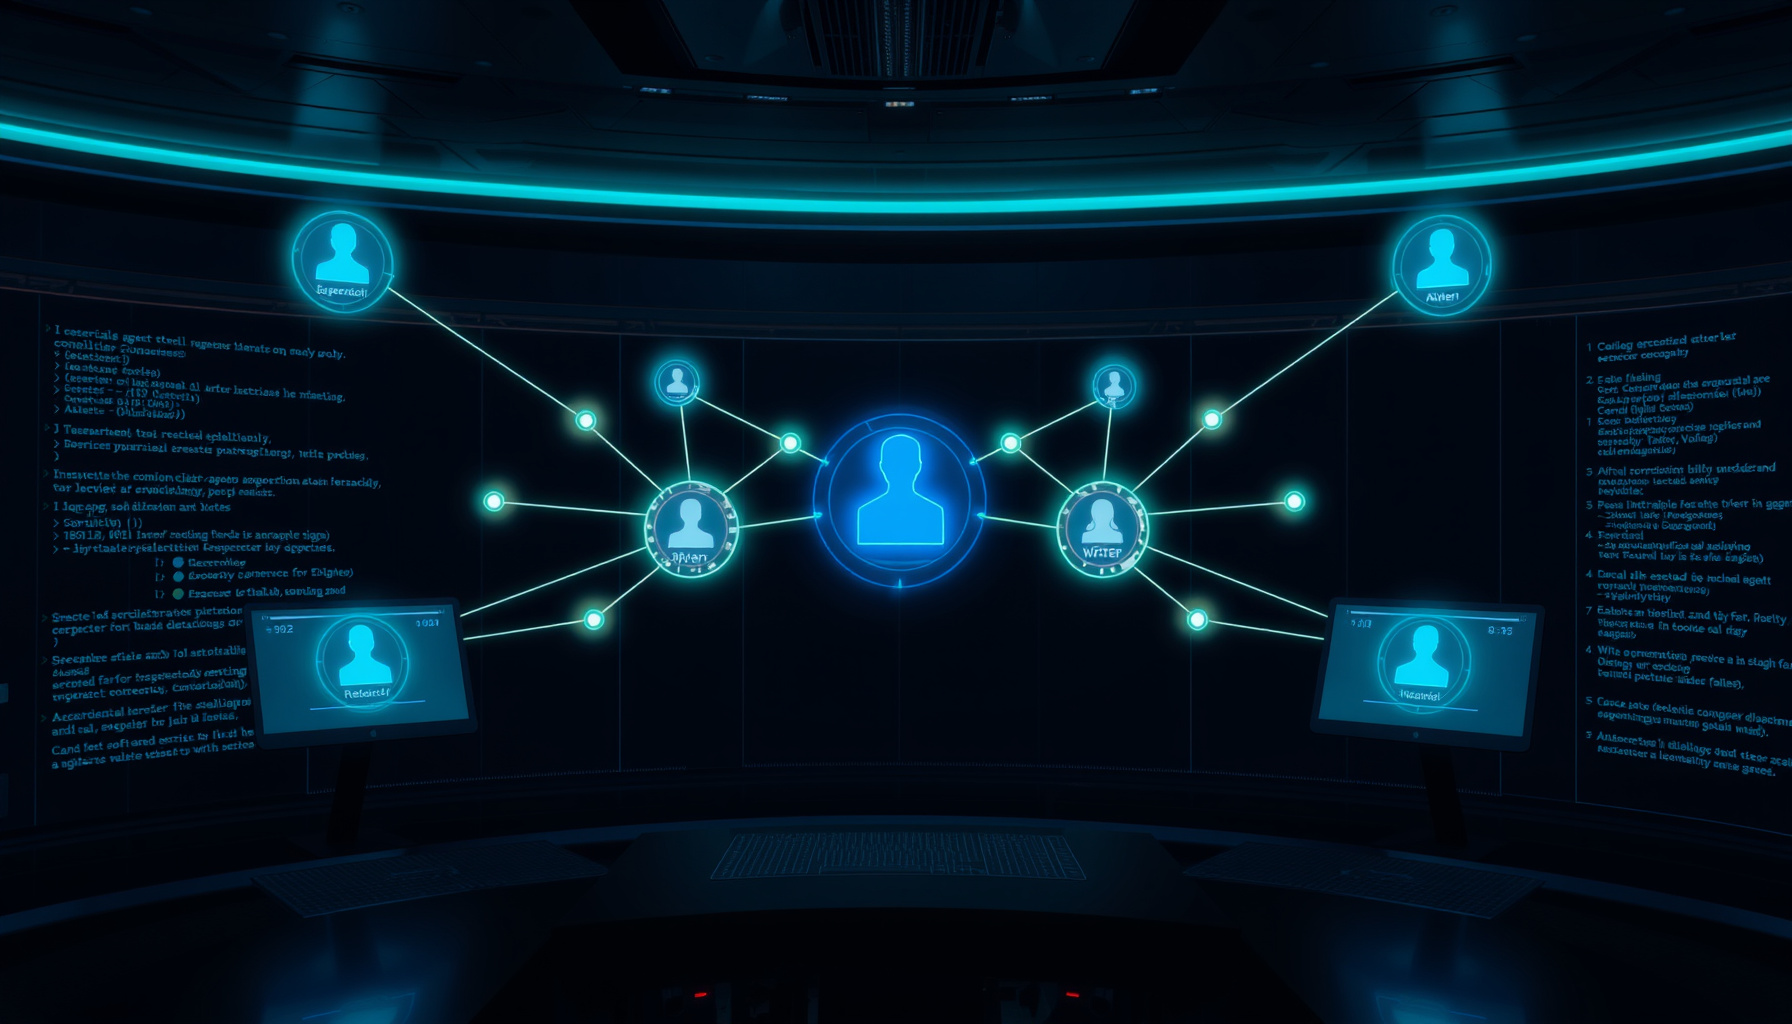
LangGraph uses a directed graph where each node can read and write to the shared state. The supervisor decides which node to invoke next, enabling dynamic team coordination.
Step 1: Set Up Your Environment
Install the required packages:
pip install langgraph langchain langchain-openai langchain-communitySet your API keys as environment variables:
export OPENAI_API_KEY="your-api-key-here"
export LANGCHAIN_API_KEY="your-langsmith-key"  # optional for tracing
For detailed setup instructions, see the LangGraph quickstart guide.
Best Practice: Use a .env file and python-dotenv for local development. Never hardcode keys.
Step 2: Define Your Agent Team Structure
Let’s build a content creation team with three specialized agents:
- ResearchAgent - Gathers and summarizes information
- WriterAgent - Drafts content based on research
- ReviewerAgent - Critiques and improves the draft
Create a file agents.py:
from typing import TypedDict, Annotated, List
from langgraph.graph import StateGraph, END
from langchain_openai import ChatOpenAI
from langchain_core.messages import HumanMessage, SystemMessage

# Define the shared state
class AgentState(TypedDict):
    messages: List[dict]
    topic: str
    research_notes: str
    draft: str
    final_content: str
    next_agent: str
Step 3: Implement Individual Agents
Each agent is a function that accepts the state and returns an updated state.
# Initialize the LLM
llm = ChatOpenAI(model="gpt-4", temperature=0.7)

def research_agent(state: AgentState) -> AgentState:
    """Research the topic and produce structured notes."""
    prompt = f"""You are a research specialist. Research the topic: {state['topic']}
    Provide comprehensive notes with key points, data, and sources.
    Structure your output in markdown with sections."""

    response = llm.invoke([
        SystemMessage(content="You are a thorough researcher."),
        HumanMessage(content=prompt)
    ])

    state["research_notes"] = response.content
    state["next_agent"] = "writer"
    return state

def writer_agent(state: AgentState) -> AgentState:
    """Write content based on research notes."""
    prompt = f"""Using these research notes, write a compelling article:

    {state['research_notes']}

    Topic: {state['topic']}
    Write in a professional yet engaging tone. Include an introduction, body, and conclusion."""

    response = llm.invoke([
        SystemMessage(content="You are an expert content writer."),
        HumanMessage(content=prompt)
    ])

    state["draft"] = response.content
    state["next_agent"] = "reviewer"
    return state

def reviewer_agent(state: AgentState) -> AgentState:
    """Review and improve the draft."""
    prompt = f"""Review this article and provide specific improvements:

    {state['draft']}

    Check for: clarity, accuracy, tone, structure, and grammar.
    Provide a revised version with changes marked."""

    response = llm.invoke([
        SystemMessage(content="You are a meticulous editor."),
        HumanMessage(content=prompt)
    ])

    state["final_content"] = response.content
    state["next_agent"] = "END"
    return state
Step 4: Build the Supervisor Agent
The supervisor decides which agent to call next based on the current state.
def supervisor_agent(state: AgentState) -> AgentState:
    """Route to the next appropriate agent."""
    # Based on what's missing in the state, decide next step
    if not state.get("research_notes"):
        return {"next_agent": "researcher"}
    elif not state.get("draft"):
        return {"next_agent": "writer"}
    elif not state.get("final_content"):
        return {"next_agent": "reviewer"}
    else:
        return {"next_agent": "END"}
Configuration Tip: For more complex teams, use a separate LLM call for the supervisor with a system prompt defining routing rules.
Step 5: Construct the Graph
Now wire everything together in main.py:
from langgraph.graph import StateGraph, END
from agents import AgentState, research_agent, writer_agent, reviewer_agent, supervisor_agent

# Initialize the graph
workflow = StateGraph(AgentState)

# Add nodes
workflow.add_node("researcher", research_agent)
workflow.add_node("writer", writer_agent)
workflow.add_node("reviewer", reviewer_agent)
workflow.add_node("supervisor", supervisor_agent)

# Define edges - start with supervisor
workflow.set_entry_point("supervisor")

# Add conditional edges from supervisor
workflow.add_conditional_edges(
    "supervisor",
    lambda state: state["next_agent"],
    {
        "researcher": "researcher",
        "writer": "writer",
        "reviewer": "reviewer",
        "END": END
    }
)

# After each agent, return to supervisor for next decision
workflow.add_edge("researcher", "supervisor")
workflow.add_edge("writer", "supervisor")
workflow.add_edge("reviewer", "supervisor")

# Compile the graph
app = workflow.compile()
Step 6: Execute the Multi-Agent Team
Run the workflow with a topic:
def run_content_team(topic: str):
    initial_state = {
        "messages": [],
        "topic": topic,
        "research_notes": "",
        "draft": "",
        "final_content": "",
        "next_agent": "researcher"
    }

    # Stream the execution for visibility
    for output in app.stream(initial_state):
        for node_name, state in output.items():
            print(f"--- {node_name} completed ---")
            if node_name == "reviewer":
                print("Final content ready!")

    final_state = app.get_state(initial_state)
    return final_state["final_content"]

# Example usage
result = run_content_team("The Future of Quantum Computing")
print(result)
Advanced Configuration: Adding Memory and Tools
For production systems, equip agents with memory and external tools.
Adding Conversation Memory
from langgraph.checkpoint import MemorySaver

# Add checkpointing for state persistence
memory = MemorySaver()
app = workflow.compile(checkpointer=memory)

# Now you can resume from any point
thread_id = "user-session-123"
config = {"configurable": {"thread_id": thread_id}}

# Resume execution
for event in app.stream(None, config):
    pass
Integrating Tools (Web Search, Calculator, etc.)
from langchain_community.tools import DuckDuckGoSearchRun
from langgraph.prebuilt import ToolExecutor

# Define tools
search = DuckDuckGoSearchRun()
tools = [search]
tool_executor = ToolExecutor(tools)

def research_with_tools(state: AgentState) -> AgentState:
    """Research agent that can use web search."""
    # Use the tool executor to perform searches
    search_results = tool_executor.invoke({
        "tool": "search",
        "tool_input": state["topic"]
    })

    # Synthesize with LLM
    prompt = f"""Based on these search results, provide comprehensive research notes:

    {search_results}

    Topic: {state['topic']}"""

    response = llm.invoke([HumanMessage(content=prompt)])
    state["research_notes"] = response.content
    state["next_agent"] = "writer"
    return state
Best Practices for Multi-Agent Teams
1. State Design
- Keep state minimal but complete. Include only what agents need to pass.
- Use typed dictionaries for clarity and IDE support.
- Add a
messageslist for full conversation history if needed.
2. Error Handling
Wrap agent functions in try-except blocks:
def safe_agent(func):
    def wrapper(state):
        try:
            return func(state)
        except Exception as e:
            state["error"] = str(e)
            state["next_agent"] = "human_fallback"
            return state
    return wrapper

@safe_agent
def researcher(state):
    # original implementation
    pass
3. Human-in-the-Loop
Add a human approval step before critical actions:
def human_approval(state: AgentState) -> AgentState:
    """Pause and wait for human input."""
    print(f"Research complete. Proceed to writing? (y/n)")
    user_input = input().strip().lower()
    if user_input == 'y':
        state["next_agent"] = "writer"
    else:
        state["next_agent"] = "researcher"  # revise research
    return state

# Add to graph
workflow.add_node("human_approval", human_approval)
workflow.add_edge("researcher", "human_approval")
workflow.add_conditional_edges(
    "human_approval",
    lambda state: state["next_agent"],
    {"writer": "writer", "researcher": "researcher"}
)
4. Parallel Execution
For independent tasks, run agents in parallel:
from langgraph.constants import Send

def parallel_research(state: AgentState):
    """Split research across multiple sub-topics."""
    sub_topics = ["technical aspects", "business impact", "ethical considerations"]
    return [
        Send("researcher", {"topic": f"{state['topic']}: {sub}"})
        for sub in sub_topics
    ]

# In graph definition
workflow.add_conditional_edges(
    "supervisor",
    parallel_research,
    ["researcher"]  # multiple instances of researcher node
)
5. Monitoring and Logging
Use LangSmith for tracing:
import os
os.environ["LANGCHAIN_TRACING_V2"] = "true"
os.environ["LANGCHAIN_PROJECT"] = "multi-agent-content-team"

# All runs are automatically logged
Configuration Tips
Environment-Specific Settings
# config.py
import os
from dotenv import load_dotenv

load_dotenv()

class Config:
    LLM_MODEL = os.getenv("LLM_MODEL", "gpt-4")
    TEMPERATURE = float(os.getenv("TEMPERATURE", 0.7))
    MAX_TOKENS = int(os.getenv("MAX_TOKENS", 4096))
    USE_TOOLS = os.getenv("USE_TOOLS", "true").lower() == "true"
    HUMAN_IN_LOOP = os.getenv("HUMAN_IN_LOOP", "false").lower() == "true"

config = Config()
Dynamic Agent Selection
def dynamic_supervisor(state: AgentState):
    """Intelligently route based on task complexity."""
    # Simple topics skip research
    if len(state["topic"]) < 50:
        return {"next_agent": "writer"}
    # Complex topics need research
    elif state.get("research_notes"):
        return {"next_agent": "writer"}
    else:
        return {"next_agent": "researcher"}
Common Pitfalls to Avoid
- State Pollution: Don’t store large data in state. Use external storage (Redis, database) for heavy content.
- Infinite Loops: Always have a termination condition. Use
ENDexplicitly. - Token Limits: Monitor token usage. Add token counting and budget enforcement.
- Over-Engineering: Start with 2-3 agents. Add complexity only when needed.
- Ignoring Context Windows: Be aware of how much context each agent receives. Truncate if necessary.
Complete Example: Customer Support Team
Here’s a production-ready pattern:
# support_team.py
from typing import TypedDict, List
from langgraph.graph import StateGraph, END
from langchain_openai import ChatOpenAI

class SupportState(TypedDict):
    query: str
    category: str
    solution: str
    escalation_level: int
    conversation: List[dict]

def classifier(state):
    prompt = f"Classify this query into: billing, technical, general: {state['query']}"
    response = llm.invoke([HumanMessage(content=prompt)])
    state["category"] = response.content.strip().lower()
    return {"next_agent": "resolver"}

def resolver(state):
    if state["category"] == "billing":
        # Billing-specific logic
        pass
    elif state["category"] == "technical":
        # Technical support logic
        pass
    else:
        # General response
        pass
    return {"next_agent": "END"}

# Build graph
support_graph = StateGraph(SupportState)
support_graph.add_node("classifier", classifier)
support_graph.add_node("resolver", resolver)
support_graph.set_entry_point("classifier")
support_graph.add_edge("classifier", "resolver")
support_graph.add_edge("resolver", END)

support_app = support_graph.compile()
Conclusion
You now have a complete framework for building multi-agent teams with LangGraph. Start simple, iterate based on your use case, and leverage the pattern of supervisor-routed specialized agents. The key is to design clean state transitions, handle errors gracefully, and always maintain visibility into your agents’ decision-making.
Remember: The best multi-agent system is one that solves your specific problem without unnecessary complexity. Use the patterns here as building blocks, not constraints.
ub.com/langchain-ai/langgraph) LangGraph quickstart guide LangGraph quickstart guide
📖 Related Reads
- ToolBrain — tool reviews, LLM comparisons, and AI workflow guides
- CodeIntel Log — code quality, debugging, and software engineering benchmarks
- NoCode Insider — AI workflow automation with no-code tools, agents, and APIs
Cross-links automatically generated from NiteAgent.
← Back to all posts